We all know how hard it can be to work a workout routine into your daily schedule. There’s all those responsibilities building up on your to-do list, it may seem like an impossible mission to add a 20-60 minute workout between all those tasks. So, when you do manage to get into the groove and workout 3-7 days a week, you’re ready to jump into the shower as soon as your workout is over and get right into your day (or bed). However, you don’t want to skip out on post work-out stretches. In this article we’ll discuss why recovery stretches are essential and some simple stretches you can seamlessly incorporate into your routine so that you feel your best all week long.

Why Recovery Stretches Are Essential After a Workout
What Does Stretching Do for Recovery?
Stretching is essential after a workout because it keeps the muscle and joints flexible and healthy. When we don’t stretch, our muscles become tight and then they aren’t able to extend as far as we’d like during our workout. This tightness and lack of range of motion is what creates strains, pain and damage.
Improves blood flow to muscles
Stretching improves blood flow to the muscles by increasing blood vessel width, which helps deliver oxygen and nutrients to the muscles. This helps remove waste products like lactic acid from the muscles, reducing soreness and strain.
Reduces lactic acid build-up
As blood flows more efficiently to the muscles, waste products like lactic acid are more easily removed. Lactic acid is forms when the body breaks down carbohydrates for glucose during your workout. Low intensity workouts like yoga, cycling or stretching helps remove lactic acid from the body quicker.
Speeds up recovery time
Stretching post workout reduces muscle stiffness and tension, promotes flexibility and reduces the risk of injury. Getting into a steady stretching routine aids in maintaining muscle balance, which leads to quicker recovery after physical activity.
Enhances flexibility and range of motion
Stretching enhances flexibility and range of motion by lengthening muscles and improving the muscle elasticity. This allows joints to move more freely and reduces stiffness. Regular stretching helps maintain and improve flexibility, which will give you that heightened range of motion you’re after.
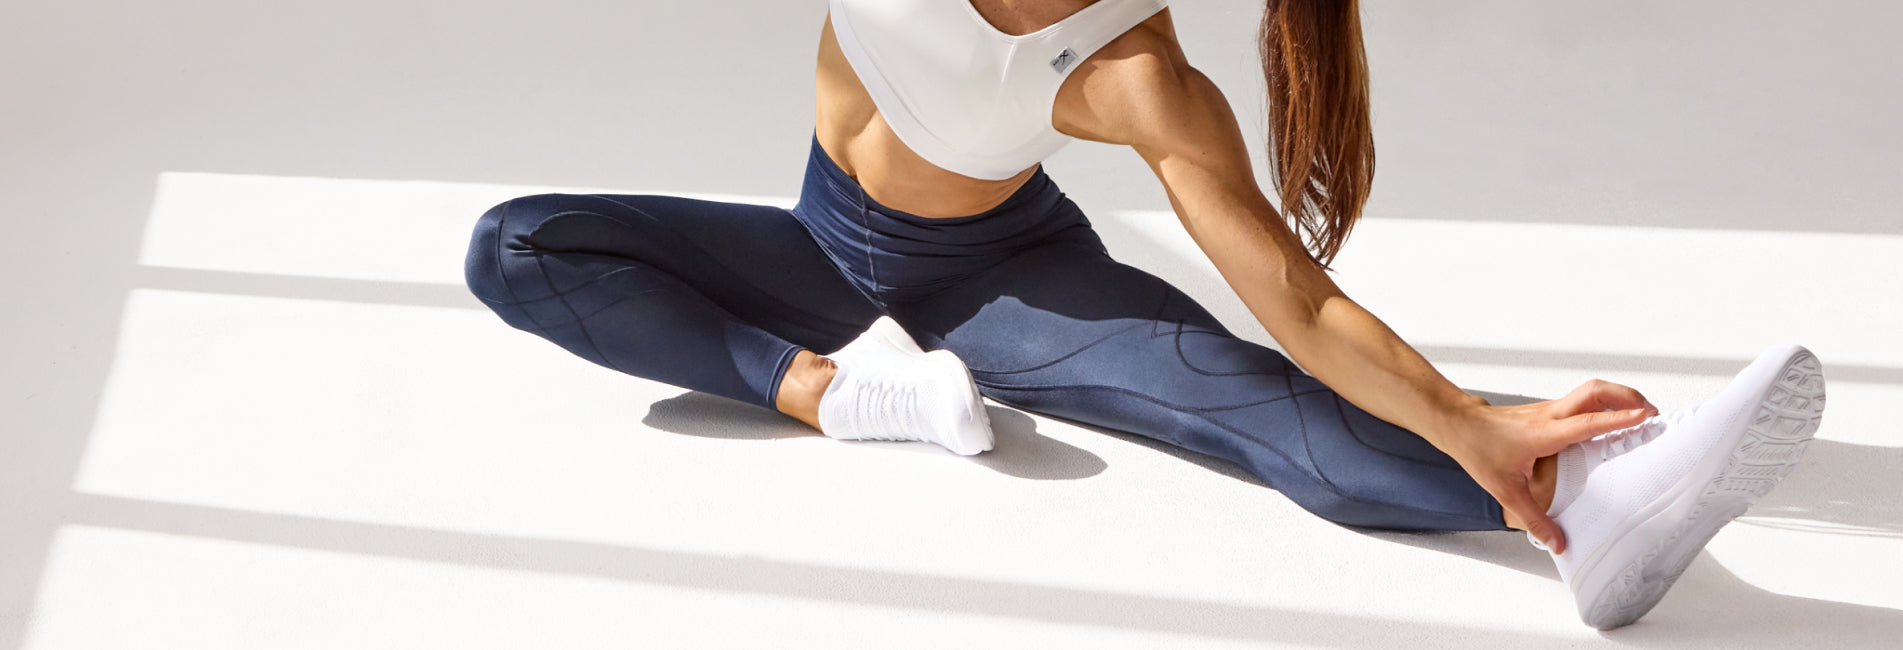
Get the most out of your workout and recovery stretches with CW-X’s Stabilyx Joint Support Compression Tight which features graduated compression to enhance blood circulation, reduce muscle fatigue, and improve athletic performance.
Does Stretching Sore Muscles Help Recovery?
Stretching can help alleviate and reduce soreness and aid in recovery. Stretching sore muscles promotes blood flow, which delivers nutrients and oxygen while flushing out waste products like lactic acid. This can reduce tightness, increase flexibility, and improve range of motion. Gentle stretching can also relieve muscle stiffness, helping muscles relax and recover more effectively.
Tips on When to Stretch:
● Immediately After a Workout: After your workout, muscles are warm and more pliable. Stretching right away helps reduce muscle tension, improve flexibility and prevents stiffness.
● As Part of Daily Mobility Work: Incorporating stretching into your daily routine helps maintain flexibility, prevent injury, and promote overall mobility. Stretching even when you don’t workout is important for the muscles and joints.
Stretch safely and efficiently with CW-X’s Expert 3.0 Joint Support Compression Tight designed to provide targeted joint support during low-impact activities like yoga, pilates walking and stretching. These leggings incorporate the patented EXO-WEB™ technology to map and stabilize your joints, helping you stay balanced and supported.

7 Recovery Stretches for Sore Muscles
Stretch 1: Cat-Cow Stretch (For the Spine)
Cat-Cow helps loosen up the spine, reduces upper and lower back tension, and improves flexibility in the back and neck. It also helps increase blood flow to the spine, which helps relieve stiffness and promotes mobility.
How to Perform:
- Start in a tabletop position: Begin on your hands and knees with your wrists directly under your shoulders and knees under your hips.
- Cat Pose: Inhale deeply, and as you exhale, round your back toward the ceiling, tucking your chin to your chest. Engage your abdominals and push the center of your back upward, like a cat arching its back.
- Cow Pose: Inhale, drop your belly toward the floor, and lift your chest and tailbone toward the ceiling. Arch your back inward and lift your head slightly to look forward.
- Repeat: Continue to flow between these two movements, inhaling as you move into Cow pose and exhaling as you round into Cat pose. Aim for about 8-10 rounds, focusing on your breath and movement.
Stretch 2: Standing Forward Bend (For Hamstrings and Lower Back)
The Standing Forward Bend stretch helps relieve tightness in the hamstrings and decompress the lower spine. It also helps improve flexibility in the back and legs, promoting better posture and relieving discomfort in the lower back.
How to Perform:
- Start in a standing position: Stand with your feet hip-width apart and your knees slightly bent. Ensure your weight is evenly distributed on both feet.
- Hinge from the hips: With a deep inhale, lengthen your spine. As you exhale, hinge at your hips and slowly lower your torso toward your legs, keeping a flat back at first. Let your arms reach toward the floor or hold onto opposite elbows.
- Relax your neck and head: Allow your head to hang down, keeping your neck relaxed and aligned with your spine. You should feel a stretch along the hamstrings and lower back.
- Deepen the stretch (optional): If you feel comfortable, gently straighten your legs, but keep a slight bend in the knees if you feel too much strain. Hold the stretch for 20-30 seconds, breathing deeply.
- Return to standing: To come out of the stretch, bend your knees slightly, and slowly roll up one vertebra at a time until you're standing tall.
Stretch 3: Cobra Stretch (For Abs and Lower Back)
The Cobra Stretch opens up the abdomen, stretches the lower back, and helps improve spinal flexibility. It also engages the chest and shoulders, relieving tension in the lower back while promoting better posture.
How to Perform:
- Start lying on your stomach: Begin by lying face down on the floor with your legs extended straight behind you, feet hip-width apart, and the tops of your feet pressing into the floor. Place your hands flat on the floor under your shoulders, elbows hugging close to your ribs..
- Engage your core: Inhale and gently press into your palms, lifting your chest off the ground. Keep your elbows slightly bent, and avoid pushing too hard with your hands—let your back muscles do most of the work.
- Lift your chest and upper body: As you inhale, slowly lift your chest upward, arching your back and stretching through your abdomen and lower back. Keep your elbows slightly bent and your shoulders back, away from your ears.
- Hold the stretch: Hold the position for 15-30 seconds, breathing deeply, and gently stretching through the front of your body and lower back.
- Release and lower down: To come out of the stretch, exhale and slowly lower your chest and forehead back to the floor, releasing the tension.
Stretch 4: Figure Four Stretch (For Glutes and Hips)
The Figure Four Stretch helps loosen tight glutes, the hip flexors, and lower back. It targets the deep muscles of the hips, improving flexibility and relieving tension in these areas, which can be especially helpful after long periods of sitting or intense activity.
How to Perform:
- Start lying on your back: Begin by lying flat on your back with your knees bent and feet flat on the floor.
- Cross one leg over the other: Bring your right ankle and place it just above your left knee, creating a "figure four" shape with your legs. Make sure your right knee is pointing outward, away from your body.
- Grab behind the left thigh: Thread your hands through the gap between your legs, and clasp them behind your left thigh or shin (whichever feels comfortable).
- Gently pull the left leg toward you: Inhale, and as you exhale, gently pull your left thigh toward your chest. You should feel a stretch in your right glute and hip. Keep your back flat on the ground and avoid arching your lower back.
- Hold the stretch: Hold the stretch for 20-30 seconds, breathing deeply into the stretch. If you'd like a deeper stretch, you can gently press your right knee away from your body with your right hand.
- Switch sides: To release, slowly lower your left leg and switch to the other side.
Stretch 5: Side Stretch (For Obliques and Shoulders)
Benefits:
The Side Stretch targets the obliques, intercostal muscles (between the ribs), and shoulders, helping to relieve tension along the sides of the body. It improves torso and upper body flexibility and promotes better posture and mobility.
How to Perform:
- Start in a standing position: Stand tall with your feet hip-width apart and arms relaxed by your sides.
- Raise one arm overhead: Inhale and extend your right arm straight up toward the ceiling, reaching through your fingers.
- Bend to the side: As you exhale, gently bend your torso to the left, bringing your right arm over your head and reaching towards the left side. Keep your hips facing forward and avoid arching your back. You should feel a stretch along the right side of your torso, from the shoulder down through the obliques.
- Engage your core: Engage your abdominal muscles to protect your lower back as you deepen the stretch. Keep your neck relaxed and your gaze forward or slightly down.
- Hold the stretch: Hold the stretch for 20-30 seconds, breathing deeply and relaxing into the stretch.
- Switch sides: Slowly return to standing and repeat the stretch on the other side.
Stretch 6: Quad Stretch (For Thighs and Hip Flexors)
Benefits:
The Quad Stretch helps reduce tightness in the quadriceps and hip flexors. It improves flexibility in the front of the thighs and hips, which can help relieve discomfort after sitting for long periods or after intense physical activity.
How to Perform:
- Start in a standing position: Stand tall with your feet hip-width apart. Make sure your knees are slightly bent and your posture is upright.
- Bend one knee: Slowly bend your right knee and bring your right foot up toward your glutes. Keep your left leg straight and steady.
- Grab your ankle: Reach back with your right hand and grab your right ankle or foot. If you're unable to reach your foot, you can use a yoga strap or towel around your ankle for support.
- Gently pull the foot towards your glutes: With a firm grip on your ankle, gently pull your foot toward your glutes, feeling the stretch along the front of your right thigh and hip. Keep your knees close together and avoid arching your back.
- Engage your core: Keep your core engaged and your posture tall to avoid straining your lower back. You should feel a stretch in the quads and hip flexors, but not pain.
- Hold the stretch: Hold the position for 20-30 seconds, breathing deeply into the stretch.
- Switch sides: Slowly release and repeat the stretch on the other side, bending the left knee and grabbing your left ankle.
Stretch 7: Child’s Pose (For Relaxation and Full-Body Stretching)
Child’s Pose is a restorative stretch that gently stretches the entire body, especially the lower back, hips, and thighs. It promotes relaxation, reduces stress, and helps release tension in both the body and mind.
How to Perform:
- Start in a kneeling position: Begin by kneeling on the floor with your knees spread apart to about hip-width and your big toes touching each other behind you.
- Sit back on your heels: Gently sit back on your heels, keeping your hips over your knees. If this feels uncomfortable, you can place a cushion or block between your hips and heels.
- Extend your arms forward: Inhale and extend your arms straight in front of you, with your palms facing down on the floor. Reach your fingers out as you lengthen through your spine.
- Lower your torso to the floor: As you exhale, slowly lower your torso towards the floor, resting your forehead on the ground or a cushion. Keep your arms extended or, if you prefer, you can bend your elbows and rest your arms alongside your body.
- Relax and breathe deeply: Allow your body to relax deeply into the stretch, focusing on your breath. Feel the gentle stretch along your spine, hips, and thighs as you breathe in and out slowly.
- Hold the stretch: Stay in Child’s Pose for 30 seconds to 1 minute, or as long as feels comfortable. You can also gently rock side to side to release more tension.
Ready to take your recovery routine to the next level? Check out premium compression wear designed to support your post-workout recovery.

Tips for Making Recovery Stretches a Habit
By making stretching a regular part of your routine, you'll enhance your recovery, reduce muscle tightness, and improve your overall flexibility. Sounds worth it to us! Let’s have a look at how you can make recovery stretches a daily habit.
Schedule 10–15 minutes after every workout for stretching
Set aside a specific time at the end of each workout to dedicate to stretching. Have it a part of your workout plant. Even just 10-15 minutes can make a big difference in your flexibility and recovery.
Use tools like yoga mats or foam rollers for better results
Incorporate tools like yoga mats for comfort and stability during stretching. Foam rollers are also great for self-massage and muscle release, especially for tight areas. These tools can help motivate you to get into the habit of stretching.
Stay consistent to improve long-term flexibility
Consistency is key to improving flexibility and seeing long-term results. Try to stretch daily, even on rest days, to maintain and improve your range of motion and reduce discomfort over time. Once you incorporate stretching into your routine, you’ll realize how much your body benefits from it and you won’t want to go a day without it.

Enhance Your Recovery Routine with the Right Gear
Maximizing your recovery routine becomes easier with the right gear. Here are some suggestions to elevate your stretching sessions and promote muscle recovery:
● Wear Compression Gear: Compression garments like sleeves or leggings help improve circulation, reduce muscle soreness, and support muscle recovery during and after exercise and stretches.
Check out our range of compression wear for enhanced muscle support and faster recovery.
● Use Ergonomic Mats: Investing in a quality yoga or stretching mat gives you that comfort and stability during stretching exercises. An ergonomic mat provides the cushioning you need to support your joints (like your knees!) and keep you aligned, especially for floor-based stretches like Cat Cow.
● Foam Rollers for Muscle Relief: Foam rolling is a great way to release tight muscles and improve flexibility. It helps release muscle knots, and reduces muscle stiffness and soreness after stretching.
By incorporating these tools into your routine, you'll experience a faster, more effective recovery, improved flexibility, and reduced muscle tension. Ready to get started? Get started with our recovery gear and take your flexibility and recovery to the next level.